[vc_row type=”in_container” full_screen_row_position=”middle” scene_position=”center” text_color=”dark” text_align=”left” overlay_strength=”0.3″ shape_divider_position=”bottom” bg_image_animation=”none”][vc_column column_padding=”no-extra-padding” column_padding_position=”all” background_color_opacity=”1″ background_hover_color_opacity=”1″ column_link_target=”_self” column_shadow=”none” column_border_radius=”none” width=”1/1″ tablet_width_inherit=”default” tablet_text_alignment=”default” phone_text_alignment=”default” column_border_width=”none” column_border_style=”solid” bg_image_animation=”none”][vc_column_text]
Having a Google GSuite business email is a way of life for most people.
However, most of us already have personal Gmail addresses and would prefer not to have to check another email account. The good news is that you can use your personal Gmail to check your work email.
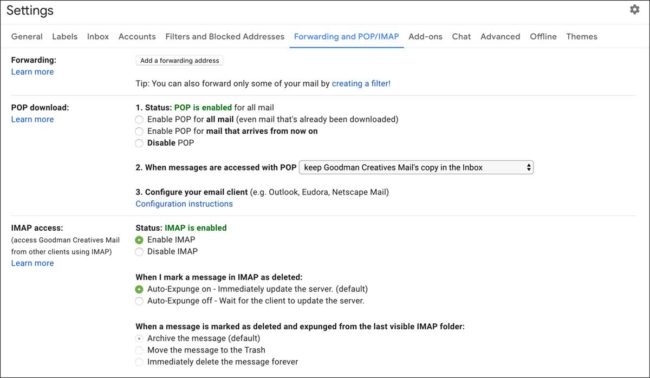
Step 1 – enabling IMAP for your GSuite email
- Log into your Google Suite address via gmail.com
- Click settings (the gear icon in the top right corner).
- Click “settings” and then click “Forwarding and POP/IMAP.”
- Select “Enable IMAP” from the section at the bottom. Save changes.
Step 2 – Checking your Gsuite email through your personal Gmail address
Now that you’ve got the backend set up, it’s time to:
- Log into your personal Gmail address
- Click settings (the gear icon in the top right corner)
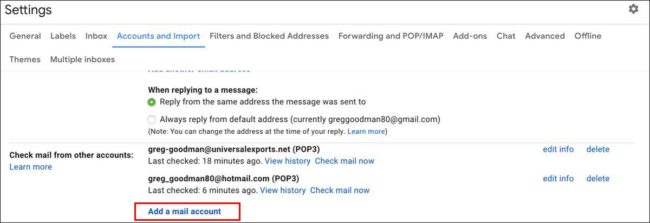
- Click “settings” and then click “Accounts and Import”
- Scroll down and find the section titled “Check mail from other accounts”
- Click the words “Add a mail account”
Here’s what that all looks like in your Gmail:
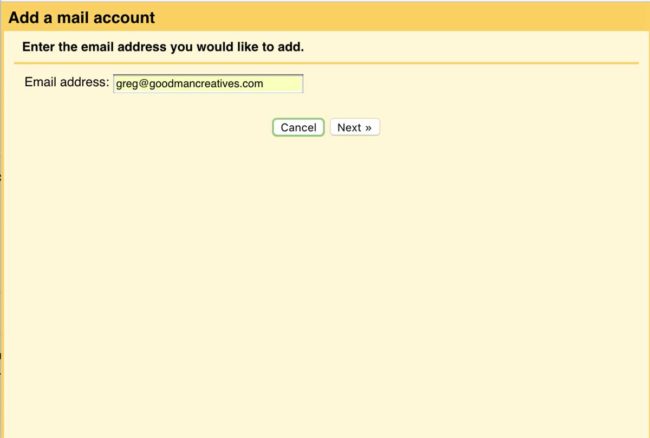
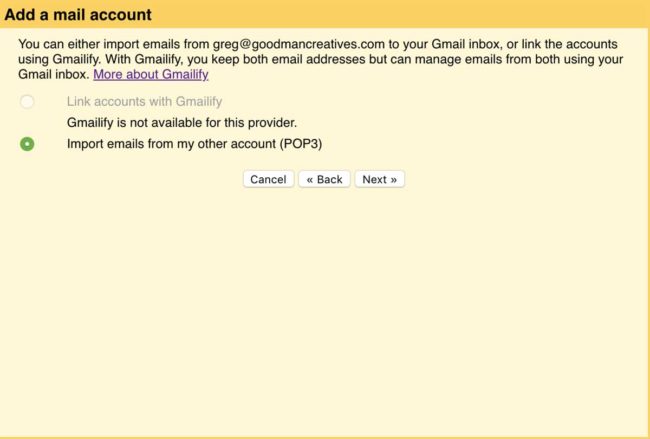
At this point, a window should pop up and you will be walked through a series of steps. Here’s what your screen should look like at every step.
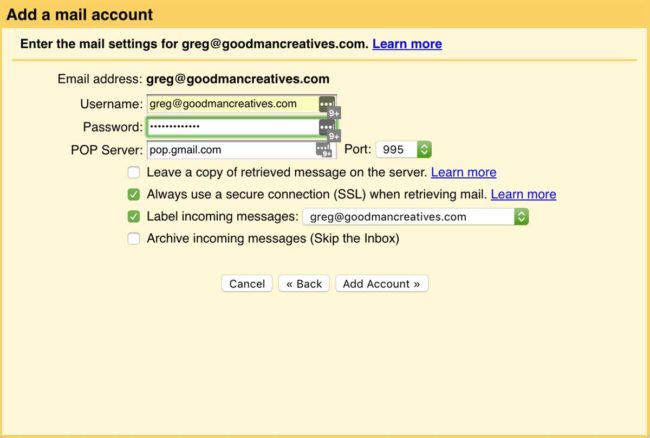
POP Server: pop.gmail.com
Port: 995** Make sure to check “Always use a secure connection (SSL) when retrieving mail.”
** Make sure to create a new label – as this will make it easy to differentiate your Gsuite emails from your personal Gmail emails.
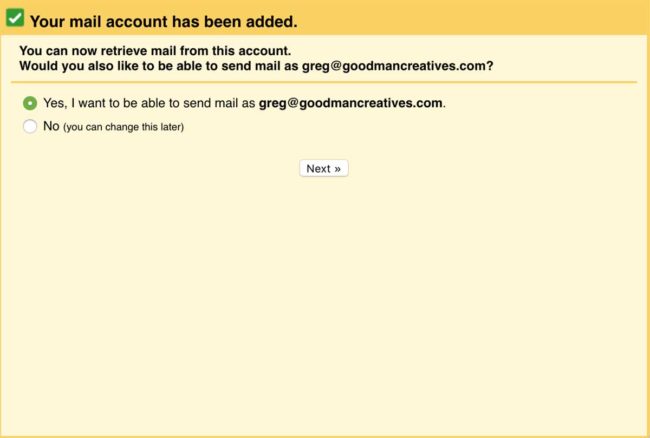
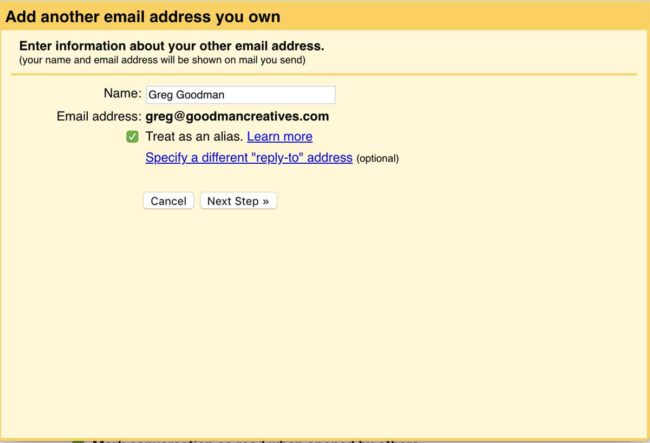
Sending work email through your personal Gmail
The final step is setting up Gmail to send emails as if you were sending from your Gsuite account. The process begins automatically after you finish setting up your incoming POP servers.
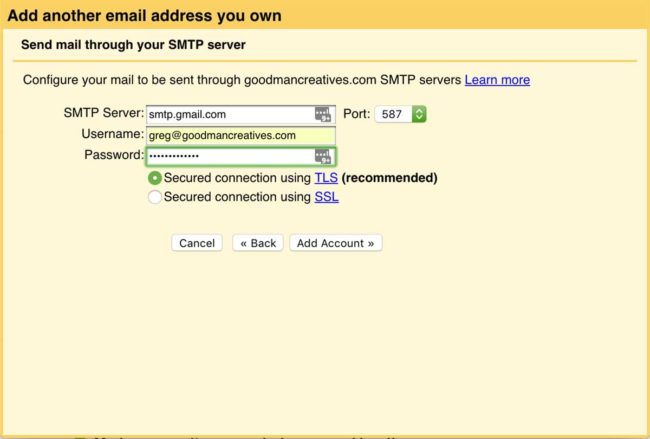
SMTP Server: smtp.gmail.com
Port: 587** Make sure to check “Secured connection using TLS (recommended)”

That’s it.
You should now be able to send and receive your Gsuite email through your personal Gmail address.
[/vc_column_text][/vc_column][/vc_row]